According to a recent national survey, nearly 40% of homeowners say they’ll need new windows within the next five years. That statistic underscores how universal the need for replacement is—and how essential it is to understand the process before you begin. New windows do more than enhance curb appeal. They improve insulation, reduce energy bills, make your home quieter, and add lasting value to your property.
But for many homeowners, the details of the window installation process feel like a mystery. What really happens before, during, and after the contractors arrive? This guide walks through each phase step by step, so you’ll know exactly what to expect from your investment.
Step 1: Shopping & Research Phase
The journey begins before you ever schedule a contractor. First, clarify your goals. Are you looking for better insulation, a new style, or low-maintenance frames? Do you need a specialty window, like a bay or casement, or a standard double-hung replacement? Your answers will narrow your search.
Next, research rebates and tax credits. For example, federal incentives often exist for installing energy-efficient replacement windows, and Minnesota homeowners can also explore state-level programs to offset costs. These rebates can save hundreds of dollars per project.
Budgeting is another key element. Window prices range widely depending on size, material, and glass type. Explore financing programs if needed—many contractors and manufacturers offer low-interest payment plans.
Finally, spend time choosing the right contractor. Look for companies with strong reviews, manufacturer certifications, and clear communication. A contractor like Compass Exteriors offers both expert installation and guidance in selecting the best products for your home’s climate.
Step 2: Pre-Installation Preparation
Once you’ve chosen your contractor, the pre-installation phase begins. A consultation and professional measurement appointment are scheduled. Accurate measurements are essential, ensuring your new windows fit perfectly without gaps or costly adjustments.
During this stage, you’ll review options for frame material, glass, and design features. Your contractor should walk you through pros and cons for each, from energy efficiency ratings to aesthetic choices.
Preparing your home is also crucial. Clear furniture and décor near the windows, remove blinds or curtains, and ensure easy access for the installation crew. In colder months, plan to seal off the work area to prevent drafts during the swap. Small steps now save time and prevent disruptions later.
Step 3: Installation Day – What to Expect
On installation day, expect your crew to arrive with tools, materials, and protective coverings. Floors and furniture near the windows are often covered with drop cloths to protect against dust or debris.
Step one is removing the old windows. The installers will carefully take out the existing frames, sashes, and glass. If your windows are decades old, they may need to safely dispose of lead paint or other materials.
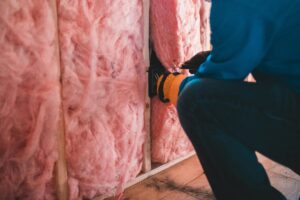
Next comes the inspection. Once the old windows are out, the frame and sill are checked for water damage, rot, or structural weakness. If repairs are needed, they are addressed before new windows go in. Skipping this step can lead to long-term air leaks or moisture issues.
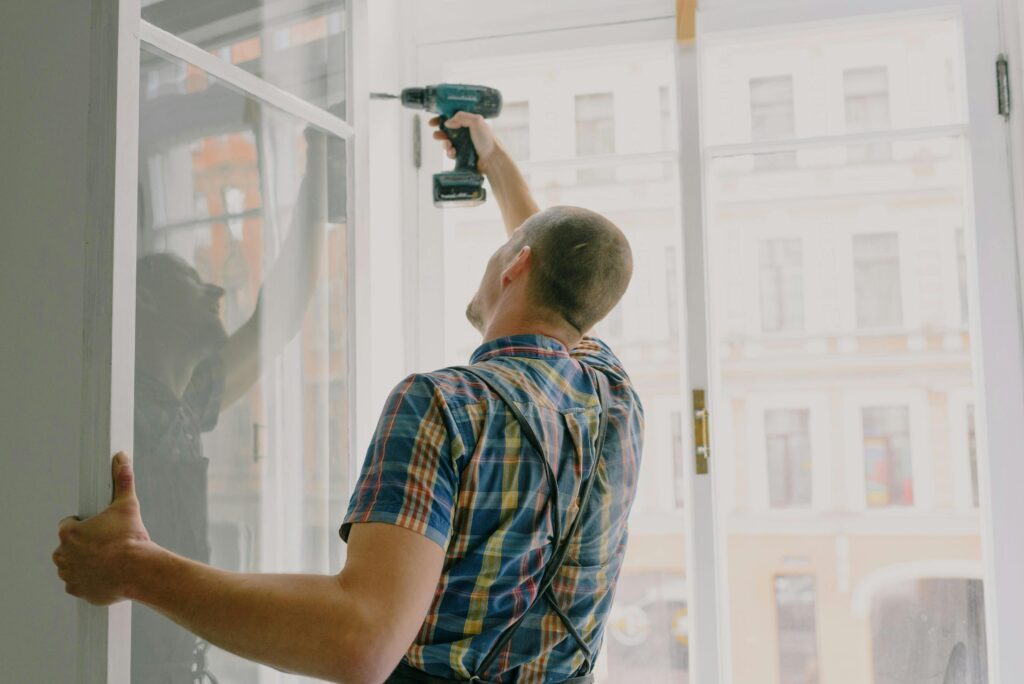
Installing the new windows is a multi-step process. The installer positions the new unit, levels it, and secures it in place. Insulation is added around the frame to eliminate drafts, and caulking is applied for a weather-tight seal. Depending on the window type, shims or brackets may be used to ensure everything is square and stable.
Finally, installers make adjustments and perform tests. They’ll open, close, and lock each window to confirm smooth operation. Screens and hardware are checked. In total, most standard window installations take 30–60 minutes per unit, though large projects may span a full day or more.
Step 4: Post-Installation Checks & Care
When the installation is complete, the team should handle cleanup. This includes removing old windows, vacuuming debris, and disposing of materials safely.
Before leaving, they’ll double-check caulking and insulation around each frame. You’ll also receive a walkthrough where the installer demonstrates how to operate locks, tilt-in sashes for cleaning, and identify warning signs of potential issues.
This phase is your chance to ask questions about window installation details, from cleaning tips to when you should schedule your first maintenance check.
Step 5: Warranty, Registration, and Long-Term Care
A key step many homeowners forget: warranty registration. Manufacturers often require you to register new products online within a set timeframe to validate coverage.
Long-term care starts immediately. Regularly clean frames and glass, check seals once a year, and avoid using harsh chemicals that could damage coatings. Investing in new window treatments may also help protect your windows from UV exposure while completing the updated look of your room.
Step 6: Common Pitfalls & How to Avoid Them
Even with professional help, homeowners can run into trouble. Some common pitfalls include:
- Rushing the contractor choice and ending up with poor workmanship.
- Skipping preparation, which can delay the project or cause accidental damage.
- Forgetting warranty steps, which could cost you if problems arise later.
Awareness is half the battle—knowing these mistakes upfront helps you avoid them entirely.
Conclusion: Compass Exteriors Makes Window Installation Simple

Replacing windows doesn’t have to feel overwhelming. By understanding the process—shopping, preparing, installation day, post-installation care, and warranty steps—you can go into your project with confidence.
At Compass Exteriors, we specialize in guiding Minnesota homeowners through every step of the window installation process. From selecting energy-efficient models to performing precise installations, we ensure your home is more comfortable, efficient, and beautiful.
If you’re ready to explore your options, contact Compass Exteriors today for a consultation—and take the first step toward windows that last for decades.