Preparation is Key to Staining Your Deck
Staining your deck is a great way to refresh its appearance, extend its life, protect it from the elements, and this exterior renovation provides a great ROI. But did you know that preparation is just as important as the staining process itself? Skipping critical prep steps can lead to uneven application, peeling, or worse—stain that fails to protect your deck from moisture, UV rays, and everyday wear.
A well-prepared deck allows the stain to penetrate evenly, enhancing its durability and aesthetic appeal. Before you start, inspecting your deck for safety and structural integrity is crucial. Loose nails, cracked boards, or hidden rot can compromise the effectiveness of your efforts and even the safety of your deck. Addressing these issues upfront ensures a smooth staining process and a result that lasts.
In this guide, we’ll walk you through everything you need to know before staining your deck, from inspection and preparation to application, ensuring your project is a success.

Things to Know Before Staining Your Deck
There are a few key things to consider before you get to work.
Inspect Your Deck for Safety and Damage
Before applying any stain, it’s crucial to ensure your deck is structurally sound and free from damage. Staining a deck with loose boards or hidden rot is not only inefficient but could also worsen the problem over time. A thorough inspection helps identify issues that need to be addressed before moving forward.
Start by checking for protruding nails, broken screws, or warped boards. These should be secured or replaced as necessary to maintain the deck’s safety and stability. Next, inspect the area beneath the deck, paying close attention to wood that is in direct contact with the ground. Use a screwdriver to gently probe suspect areas—soft wood indicates rot, which must be replaced.
Additionally, examine the ledger board, the critical connection between your deck and your home. Ensure the flashing around it is intact to prevent water damage from seeping into your house’s structure. If the flashing is damaged or missing, replace it immediately before proceeding. By addressing these foundational repairs upfront, you’ll ensure that your deck is safe, durable, and ready for staining. A deck inspection checklist is good to have on hand for this process.
Check the Weather Before You Start Staining Your Deck
Weather conditions can make or break your deck staining project. Stain needs dry wood to adhere properly, and at least 24 hours of dry weather is required for the stain to cure effectively. Starting in the wrong weather conditions can lead to uneven results, peeling, or premature wear.
Aim to stain your deck when the temperature is between 50°F and 90°F. Avoid high humidity, as it slows down drying times, and direct sunlight, which can cause the stain to dry too quickly, leading to an uneven finish. Check the weather forecast carefully and plan your project for a dry stretch of at least 48 hours.
For the best results, use a moisture meter to confirm that the wood’s moisture content is below 15% before applying the stain. This extra step ensures that the stain will properly penetrate the wood, providing a long-lasting, professional-looking finish.
Determine the Type of Previous Deck Stain
Before applying a new coat of stain, it’s essential to determine whether the previous stain is water-based or oil-based. Using the wrong type of stain over the existing layer can lead to peeling, uneven absorption, and a poor finish.
To identify the previous stain, run your hand over the surface. A chalky residue often indicates a water-based stain, while oil-based stains typically leave a smoother finish. If you’re still unsure, apply a small amount of rubbing alcohol to the surface—water-based stains will dissolve slightly, while oil-based stains will remain unaffected.
Water-based stains require the old layer to be stripped completely using a deck stripper to ensure proper adhesion. Oil-based stains, on the other hand, can often be reapplied after a thorough cleaning with a deck cleaner. Knowing what type of stain you’re working with is critical for a durable and professional-looking result.
Clean the Deck Thoroughly
A clean deck is the foundation for a successful staining project. Dirt, mold, and old residue can prevent the stain from properly adhering to the wood, leading to uneven coverage and a shorter lifespan for your work. Cleaning the deck ensures that the wood is prepped and ready for a smooth, even finish.
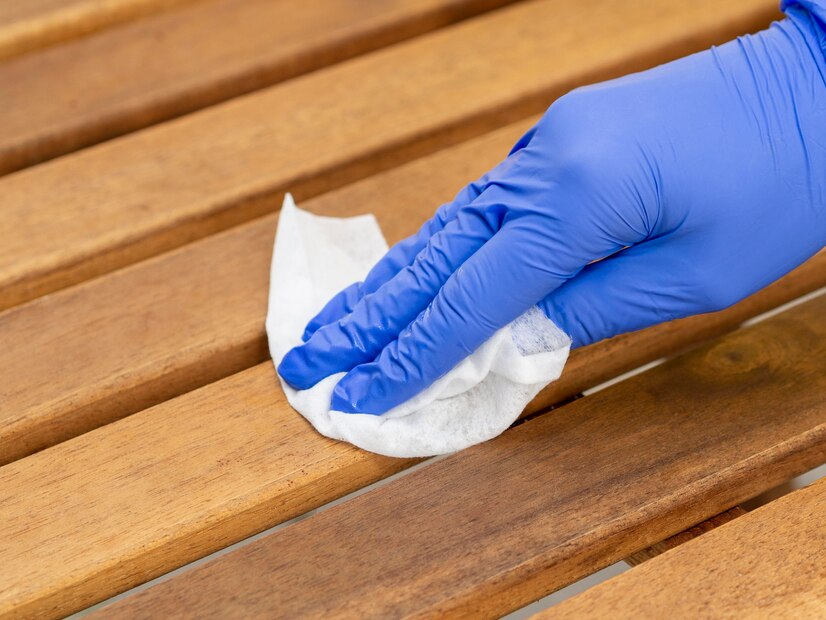
Start by clearing all furniture, planters, and other items from the deck. Protect nearby landscaping with plastic sheeting or tarps to prevent damage from cleaning products. Apply a deck cleaner or brightener to the wood, which helps remove dirt, mold, mildew, and any previous finish residues. For stubborn spots, use a stiff brush to scrub problem areas thoroughly.
Rinse the deck thoroughly with a garden hose or pressure washer, but be cautious not to damage the wood with excessive pressure. Once the deck is clean, allow it to dry completely for 24–48 hours before applying stain. Taking the time to clean properly will ensure that your stain adheres evenly and lasts longer.

Apply the Deck Stain Properly
Once your deck is prepped and dry, it’s time to apply the stain. Proper application is critical to achieving a smooth, even finish that will protect your deck for years to come. Start by gathering the right tools: use brushes for edges, rollers for large surfaces, and sprayers for an even, efficient application.
Begin by testing the stain on a small, inconspicuous area to ensure the color and absorption meet your expectations. When staining, always work in small sections and follow the direction of the wood grain. Apply thin, even coats—two thin coats are better than one thick coat to allow for better penetration and a streak-free finish.
As you work, wipe away any excess stain with a clean rag to prevent sticky spots or uneven drying. Let the first coat dry for 4–6 hours before applying the second coat. After finishing, allow at least 24 hours for the stain to cure fully and an additional 48 hours before placing furniture back on the deck. Proper application ensures a professional finish and long-lasting results.
When to Call a Professional
While staining a deck can be a rewarding DIY project, there are times when professional help is the best option. If your deck has extensive damage, such as severe rot or structural issues, it’s wise to call in an expert to ensure the repairs are done safely and effectively. Similarly, if your deck is large or requires a sprayer for even staining, a professional can save you time and ensure flawless results.
At Compass Exteriors, we specialize in deck inspections, repairs, and staining, as well as deck privacy. Our team uses expert techniques to prepare and stain your deck for a long-lasting, beautiful finish. If your deck is beyond repair, we can design and build a brand-new one that meets your needs and style preferences. Contact Compass Exteriors today to take the hassle out of your deck project and ensure a stunning outcome.
A Beautiful, Protected Deck is Within Reach
Staining your deck is a straightforward way to refresh its appearance and protect it from the elements, but preparation is the key to success. By inspecting your deck for damage, cleaning it thoroughly, and following proper staining techniques, you can achieve professional results that last. Whether you’re enhancing your deck for personal enjoyment or preparing your home for sale, these steps ensure your project is worth the effort.
If you’re short on time or unsure where to start, Compass Exteriors is here to help. From repairs to staining and even building new decks, we’re your trusted Minneapolis custom deck builders.


